
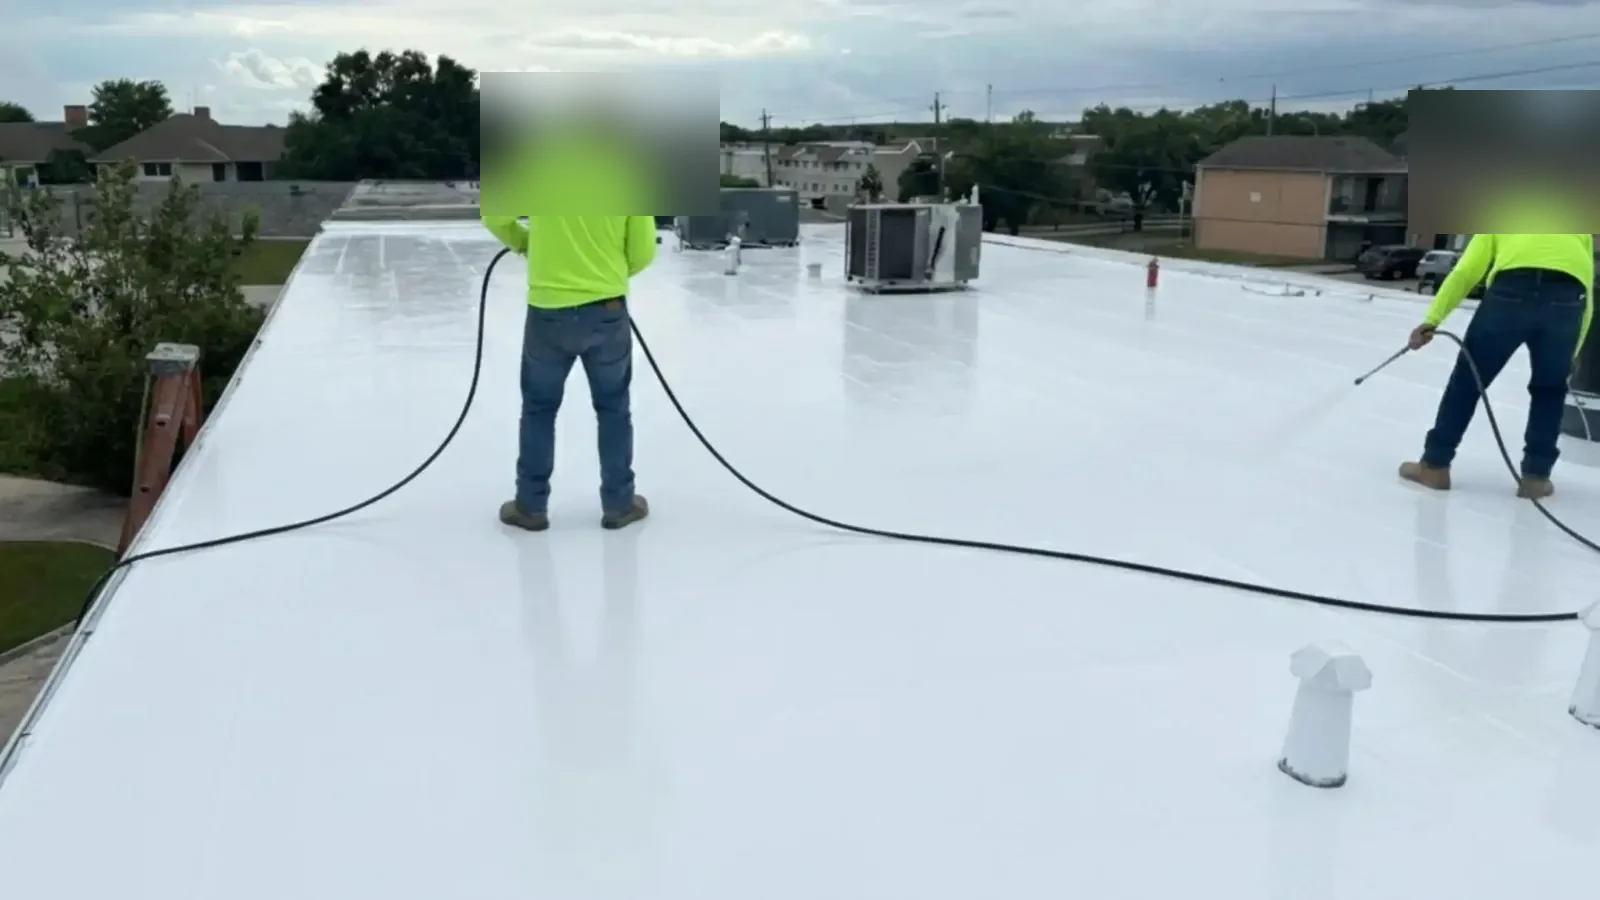
Sun exposure can make a roof look older than its service record suggests, but chalking or fading alone does not show whether the system has lost performance. The inspection checks the surface, seams, flashings, attachments, and drainage path, then connects those observations to leaks, repairs, and maintenance history. The local climate record helps frame inspection timing, but the building supplies the evidence: surface temperature, moisture, color change, cracking, and seam condition must be observed directly. We map what is worn, what is failing, and what still needs testing.
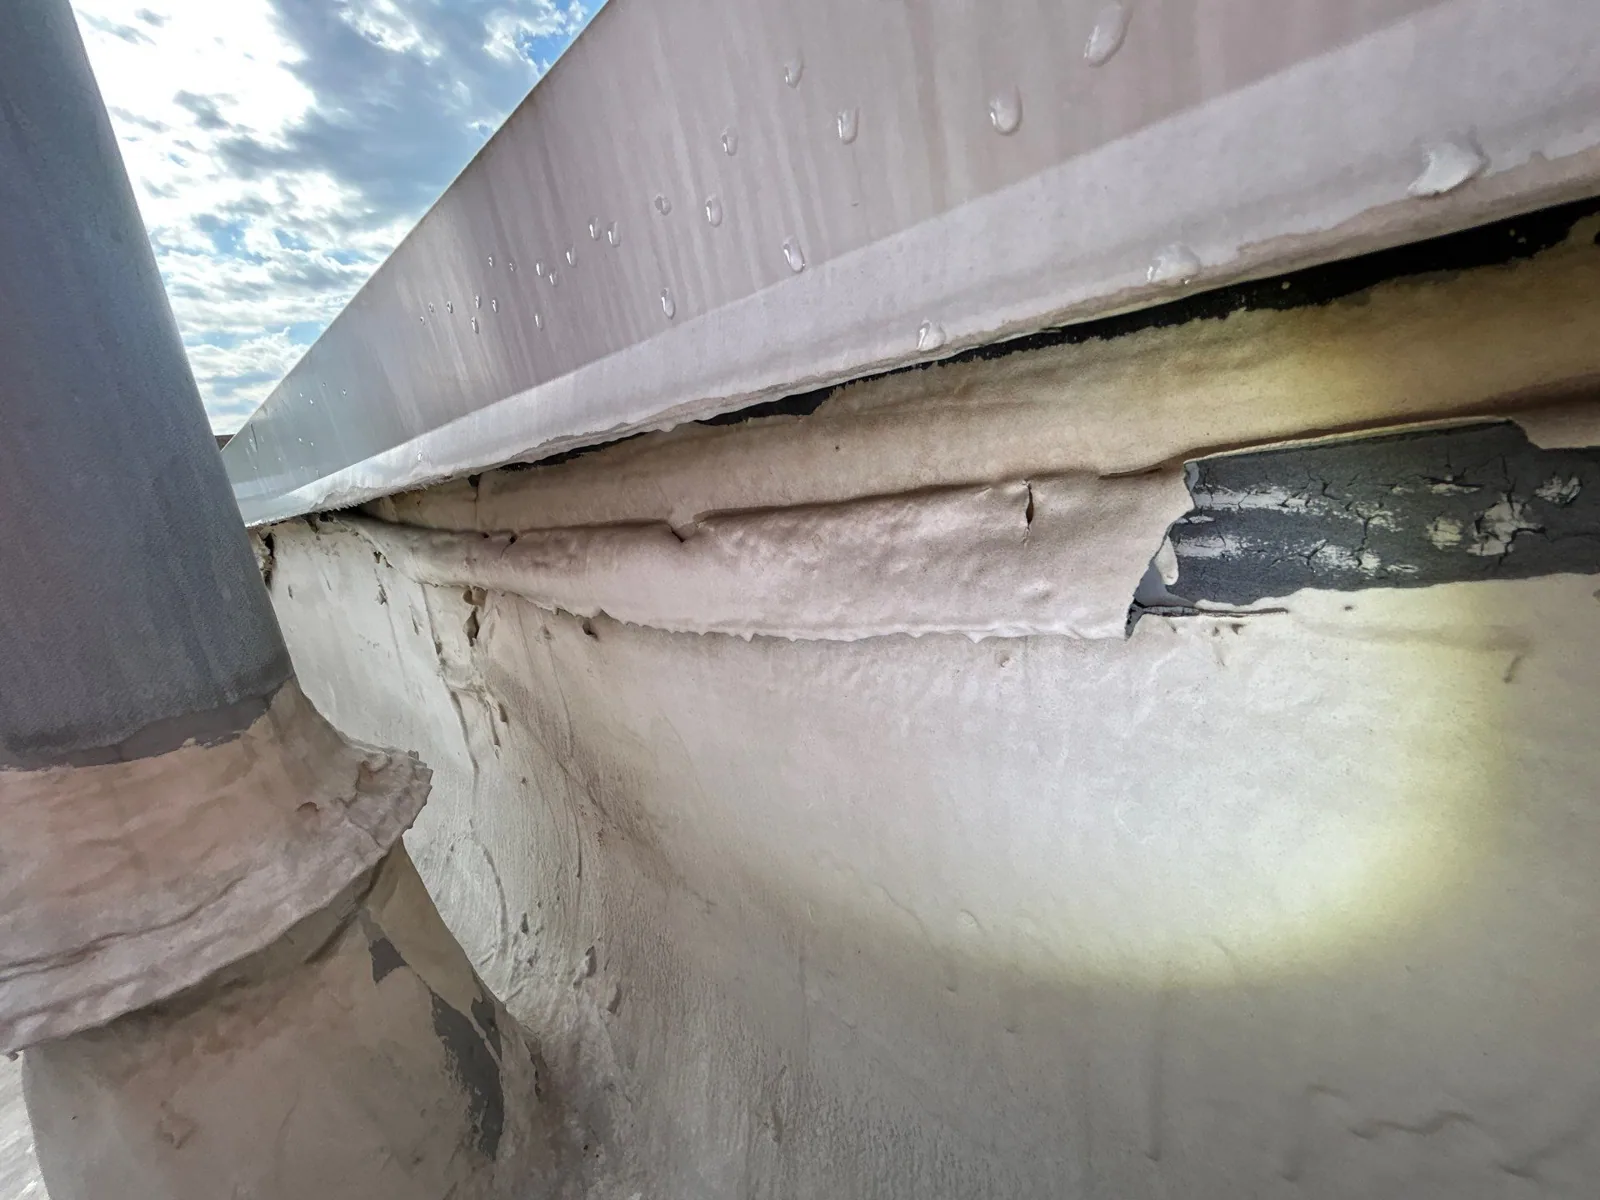
Start with a roof plan and a representative inspection route. Record color change, chalking, exposed reinforcement, surface cracking, blistering, membrane shrinkage, open seams, brittle flashing, and any loss of coating thickness. The material and system determine which signs matter. A surface that has faded but remains continuous may call for monitoring; a cracked layer, exposed reinforcement, or open termination can need repair. We describe each finding by location and severity rather than using a single age estimate for the entire roof.
Compare sun-exposed areas with shaded sections, repaired patches, and protected conditions around equipment. Differences can help isolate weathering from traffic or a prior installation issue. Interior reports add context but do not prove that UV exposure caused a particular leak. A commercial roof inspection can map the full assembly and keep photos tied to a repeatable baseline.
On a single-ply membrane, inspect seams, penetrations, wall transitions, and any coating or surfacing intended to protect the field. On metal, review the finish, fasteners, closures, panel movement, and cut edges. Built-up and modified systems need attention to surfacing, ridges, exposed reinforcement, and transitions. A coating may be a viable restoration only if the substrate is sound, dry, and compatible; coating over loose, wet, or brittle material can hide a condition without correcting it.
Local employment-area maps show a range of commercial and industrial settings. Before recommending a coating or repair, we verify the actual roof assembly on the building rather than infer it from the property's district. If the surface is split, a seam failure review can trace an opening, while a membrane puncture assessment checks localized damage from traffic or equipment.
The Tennessee monitoring plan reproduces Clarksville's 1991 to 2020 temperature and precipitation normals. July averages 79.4°F and 3.64 inches of precipitation, while August averages 78.7°F and 3.17 inches. These monthly figures describe long-term weather, not the roof surface temperature or a current work window. Before an adhesive, coating, or membrane repair, the crew checks actual surface moisture, temperature, and forecast conditions for the material being installed.
Repeated heat cycles can affect materials differently depending on color, assembly, ventilation, maintenance, and prior repairs. The inspection should show those conditions rather than claim a specific failure mechanism without evidence. If heat-related aging occurs alongside ponding, a drainage assessment can map the low area separately. For a protective renewal, roof coating restoration planning should begin with adhesion and substrate review, not the product label.
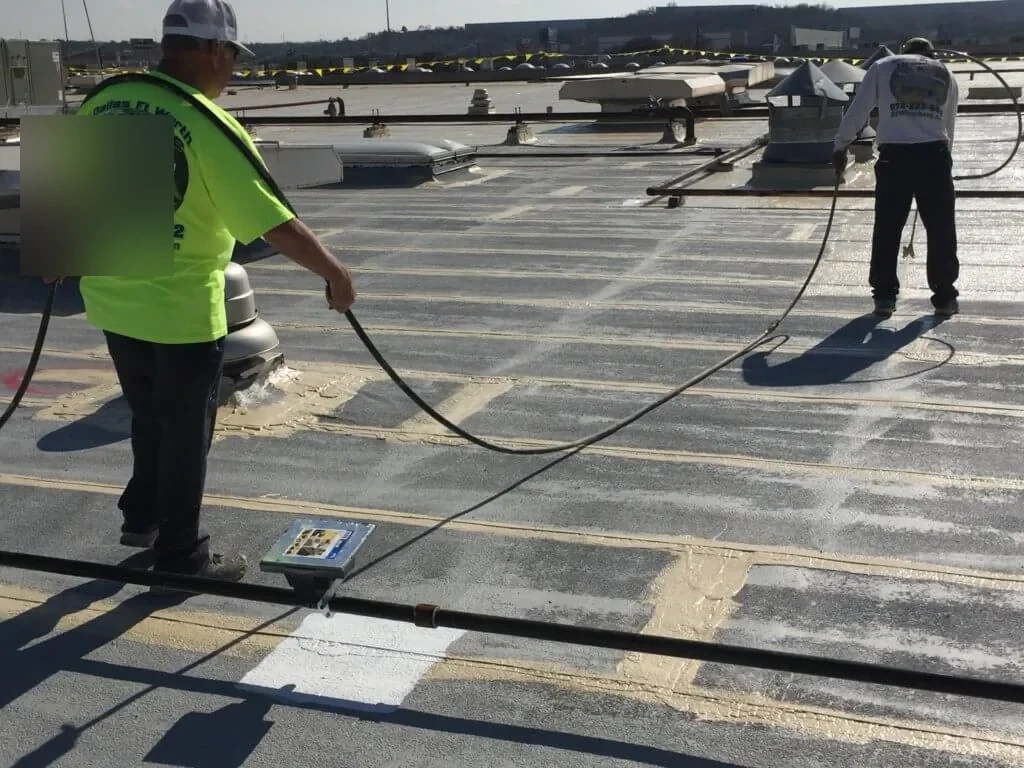
A localized repair may restore a seam, replace a brittle flashing, renew an attachment, or patch a small area of damaged material. The scope identifies preparation, compatible product, tie-in, and limits. If the surface has broad brittleness, delamination, repeated cracking, or wet insulation, a narrow patch may not provide a durable result. A test opening can confirm hidden conditions when the evidence supports it; the proposal should note its size, temporary cover, and the decision attached to the finding.
Where restoration changes the assembly or insulation, the owner should ask the design professional to verify project requirements before approving the scope. We document the observed condition and proposed method without making a code determination. For exposed wall and curb details, a flashing repair review checks the transition rather than treating it as surface wear. If system renewal is broader, compare the repair boundary with the overall roof condition and access plan.
Not necessarily. Fading is one observation; the inspection should check adhesion, cracking, seams, moisture, and substrate condition before recommending a coating or repair.
Only after compatibility and substrate condition are assessed. Loose, wet, or failed material may need removal or replacement instead of being covered.
The crew checks actual surface temperature, moisture, and forecast conditions against the product requirements. Long-term climate averages do not replace those jobsite measurements.
An inspection can document current condition, repairs, and risks, but it cannot predict an exact remaining service life. A useful report separates observed facts from estimates and identifies what should be monitored.
Provide system type, installation or coating records, repair history, leak locations, roof plan, and access rules. Photos of both exposed and shaded areas can help define the inspection route.
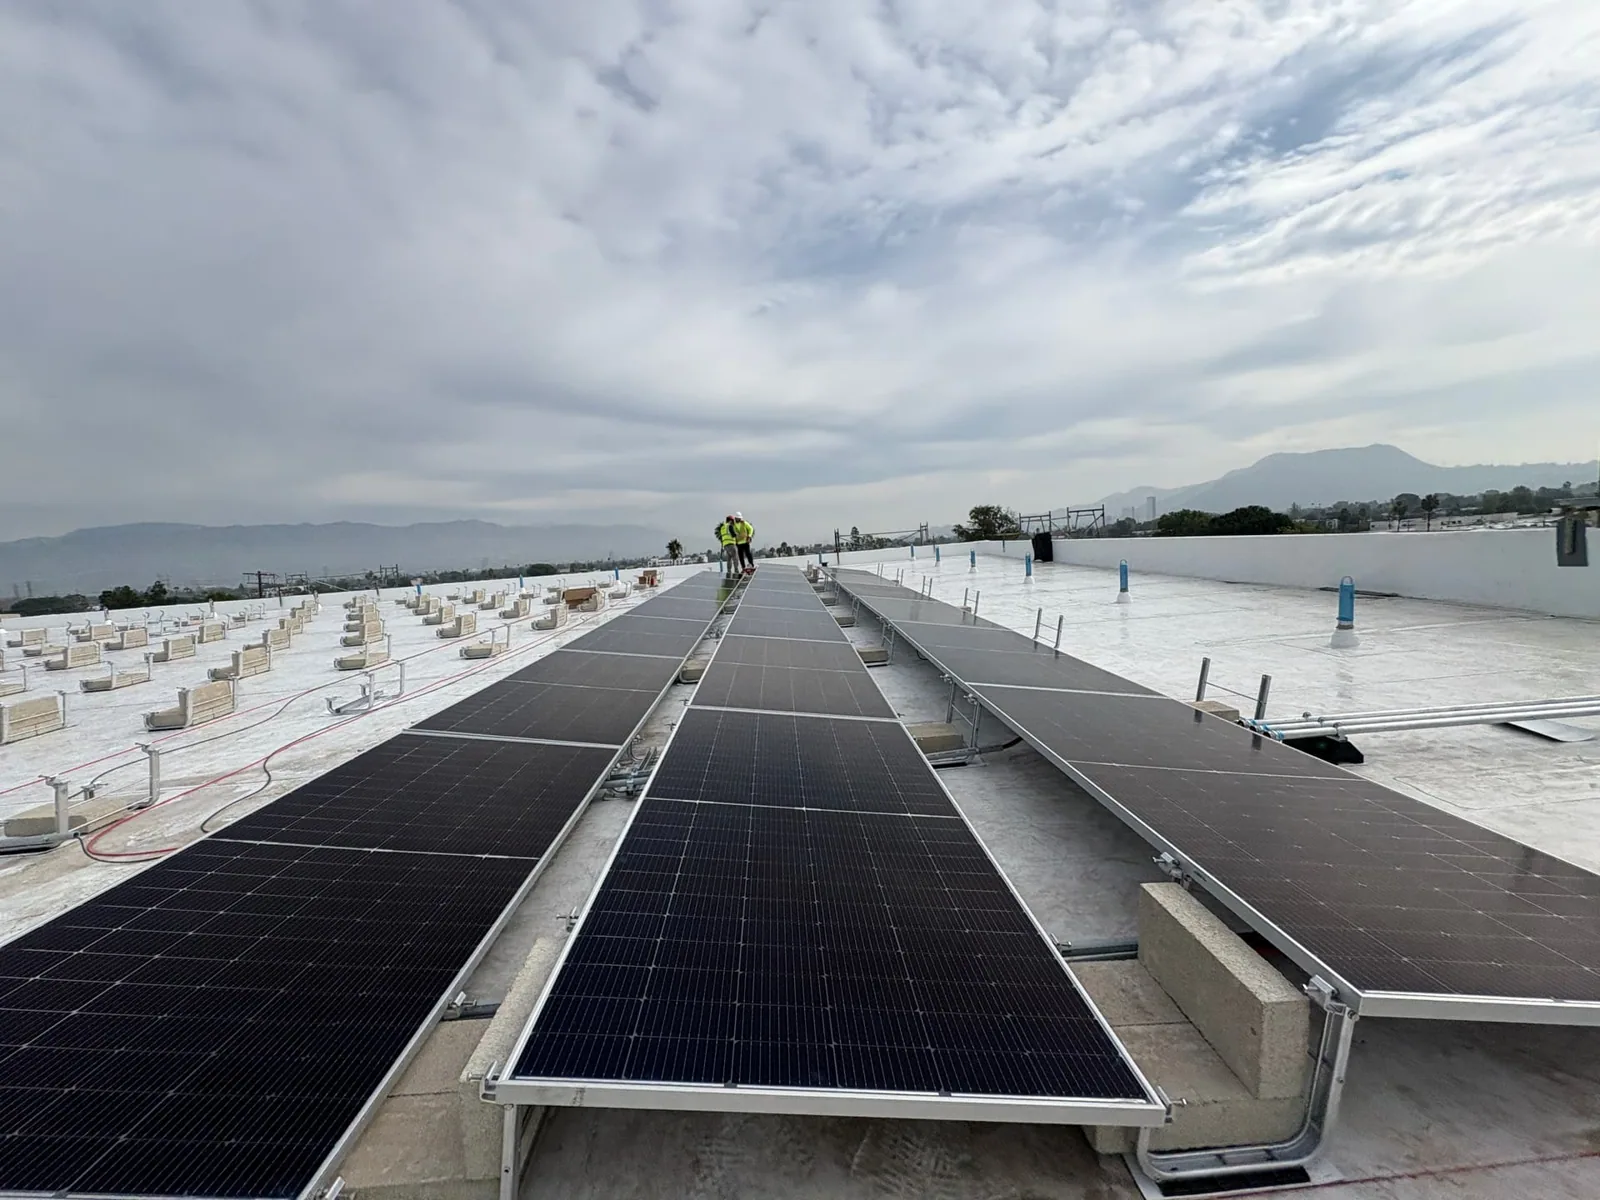
Surface preparation can involve cleaning, debris removal, and material staging, so define the roof access plan before the crew arrives. Confirm fall protection, rooftop equipment clearances, loading paths, tenant circulation, and areas where dust or odor could affect work below. Set a daily handback with a closed-in boundary and note which areas remain under protection. Coatings and adhesives need suitable installation conditions; a schedule should allow the work to cure or weld before weather or foot traffic exposes it.The closeout should also note the inspected roof zone, any finish change that remains, and the date a facilities lead should compare it with the next condition walk.
Clarksville's official FAQ names Rossview Road/SR 237, Tiny Town Road/SR 236, and Wilma Rudolph Boulevard/US 79 among its main thoroughfares. These routes help orient service, but the property contact confirms the entrance, gate, staging area, and roof access. Near North Park or the Rossview Road corridor, crews still verify building-specific access rather than relying on a map label. An occupied-building work plan can sequence zones around continued operations.
Closeout photos show repaired transitions, prepared areas, coating or membrane coverage, and nearby details that remain outside scope. Record material, surface preparation, weather conditions during installation, and any adhesion or test procedure performed. If some sections remain uncoated or were not accessible, mark them explicitly. The owner should know whether the work was a localized repair, a restoration layer, or a replacement of a roof section.
For coating work, note the area tested, how the sample was prepared, and whether the surface met the system's acceptance criteria before broader application. Record dry-film checks or other specified quality checks where the product requires them. These measurements help explain why one roof zone was accepted and another deferred. Do not infer whole-roof performance from a small sample; identify the limits and next check.
Plan a future review around the material's maintenance requirements and the building's exposure. Compare the same areas for new cracking, seam movement, coating wear, or ponding. A maintenance inspection can update the baseline before minor wear turns into an opening. The record should include a practical trigger for a return visit, such as a new leak, a visible split, or a change in drainage after equipment work. Keep the same roof-zone labels in the work order, photo set, and maintenance log so a later inspector can compare the correct locations.
Share the roof plan, system history, prior coatings, and leak reports. We will document surface and detail conditions, check compatibility and access, and outline repairs, restoration, or further testing by roof zone.